Home → Office 365 → Apple iPhone → Set up email using the iOS Mail app (iOS 13)
6.1. Set up email using the iOS Mail app (iOS 13)
Add your Microsoft 365 email to the Mail app on your iPhone or iPad. Then you can send, receive, and organize emails.
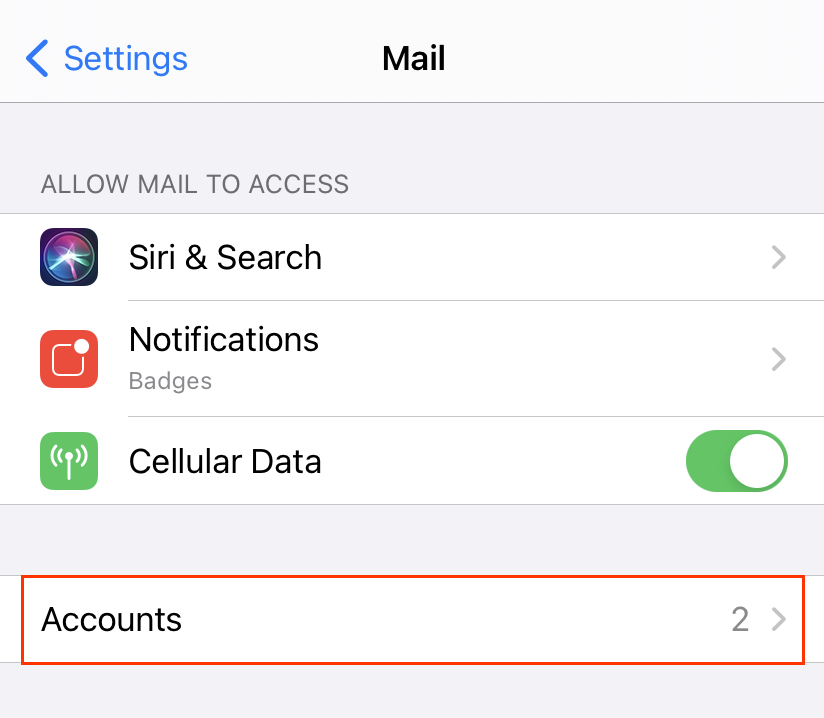
- Go to your iPhone or iPad's Settings and tap Mail.
- Tap Accounts.
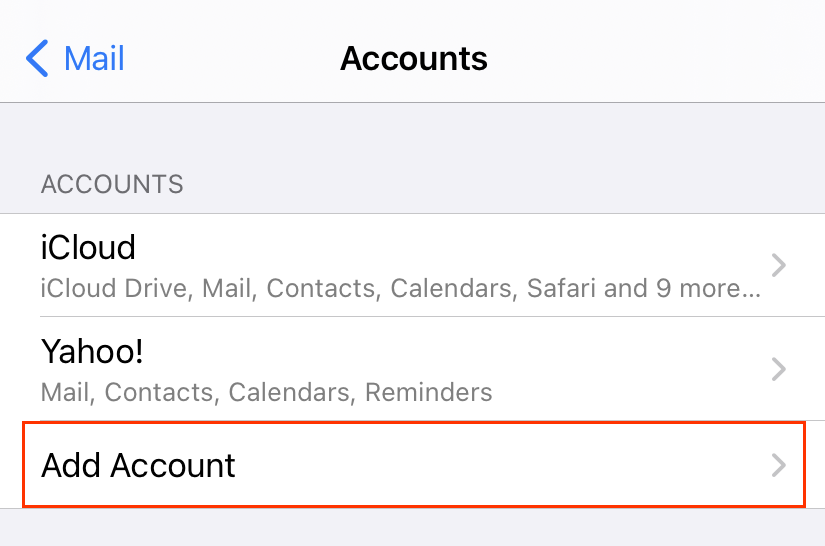
- Tap Add Account.
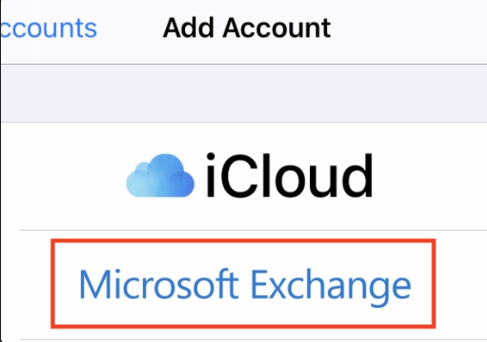
- Tap Microsoft Exchange.
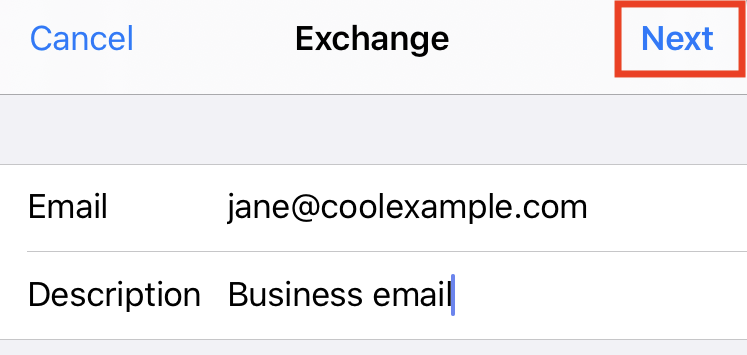
- Enter your Email and a short Description (like your company's name or email type), and then tap Next.
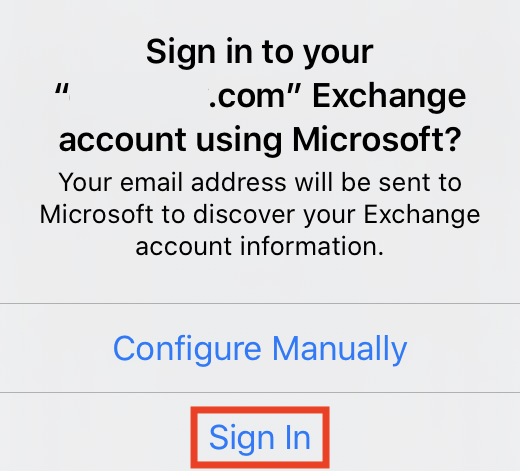
- Tap Sign In to confirm you want to use your Microsoft Exchange account.
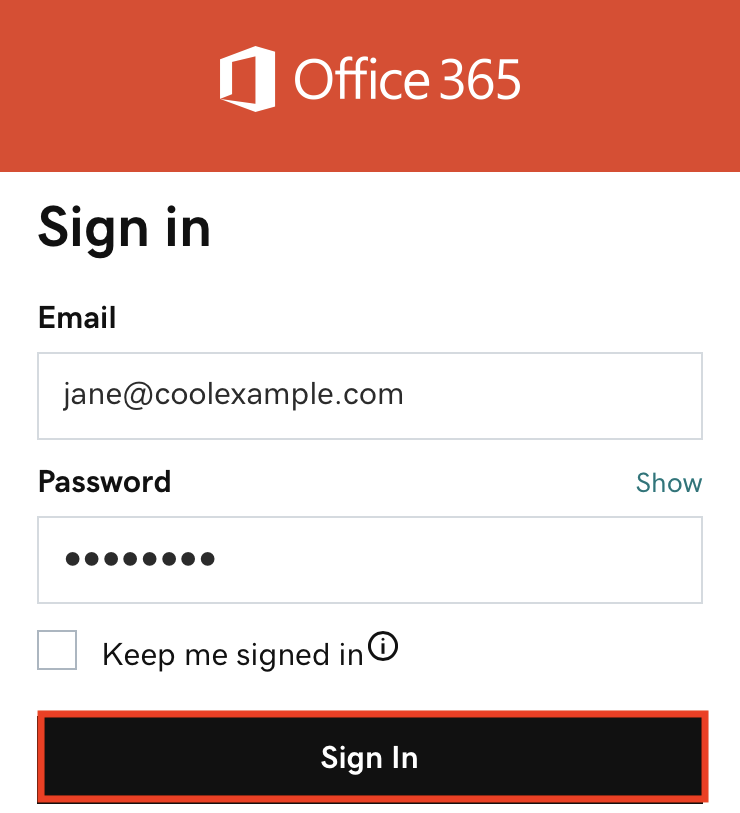
- Enter your Password and tap Sign In. (You might need to choose your account type as a Work or School to continue.)
Note: If Microsoft can't find your account, you might be asked to enter your details manually:
• Email = your Microsoft 365 email address
• Password = your Microsoft 365 email password
• Server = outlook.office365.com (this is required)
• Domain = This can be left empty
• Username = your Microsoft 365 email address - If your admin enabled multi-factor authentication (MFA) (also called two-step verification), you'll need to verify your account.
- Tap Next. You might be asked to select Consent on behalf of your organization. This allows Microsoft 365 and the Mail app to work together. Tap Accept.
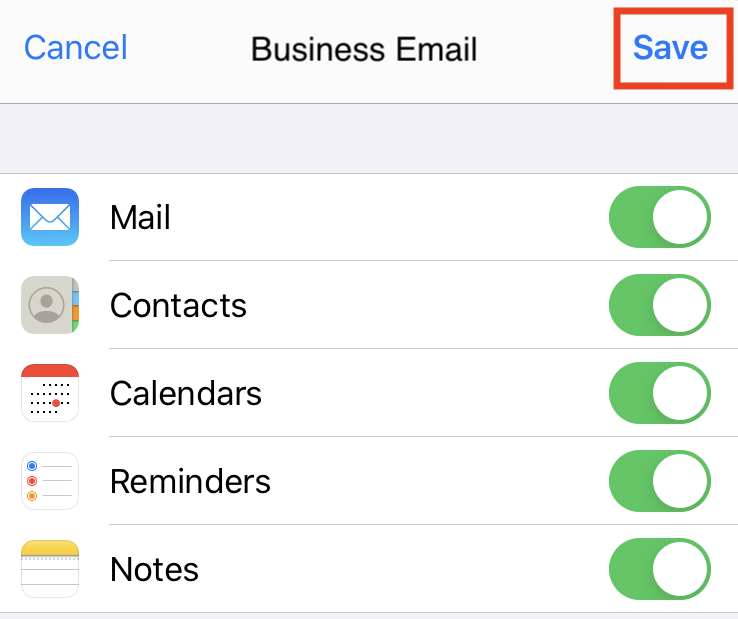
- Tap Save. You can come back and update settings here at any point.
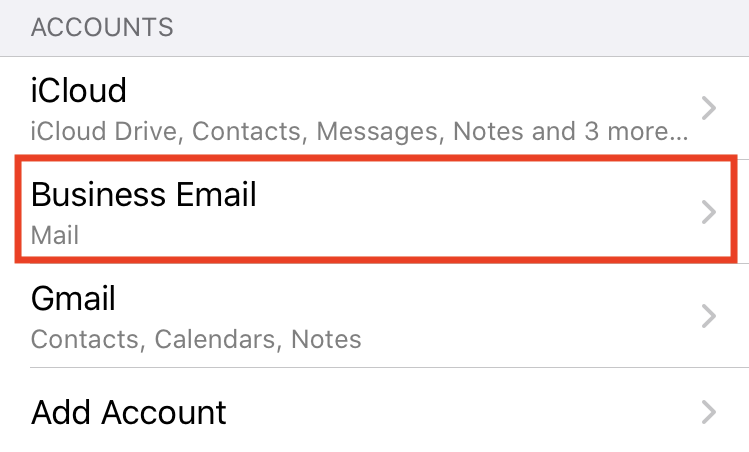
- That's it! You'll see your Microsoft 365 account under Accounts.
This page was: Helpful |
Not Helpful