Home → Windows 10 → Operating System → How to Reset Start Menu Layout to Default in Windows 10
2.19. How to Reset Start Menu Layout to Default in Windows 10
How to Reset Start Menu Layout to Default in Windows 10
The layout of your Start menu includes how you resized the Start menu or full screen Start, pinned items, how the tiles of pinned items are sized, arranged into groups, group names, and used in Live Folders.
Sometimes you may no longer be able to "Pin to Start" or "Unpin from Start", and/or the Start menu may become corrupted and will no longer display or work properly. When this happens, resetting the Start layout back to default can usually fix this.
This tutorial will show you how to reset the Start screen layout back to default for your account in Windows 10.
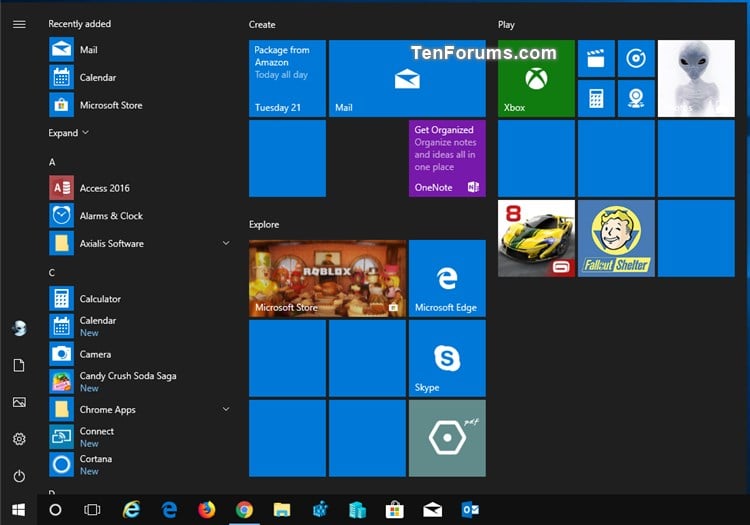
EXAMPLE: Default Start menu layout in Windows 10
Here's How:
1 Click/tap on the Download button below to download the file below.
The downloadble .reg file below will delete the registry key below.
HKEY_CURRENT_USER\Software\Microsoft\Windows\CurrentVersion\CloudStore\Store\Cache\DefaultAccount
2 Save the .reg file to your desktop.
3 Double click/tap on the downloaded .reg file to merge it.
4 When prompted, click/tap on Run, Yes (UAC), Yes, and OK to approve the merge.
5 Sign out and sign in to apply.
6 You can now delete the downloaded .reg file if you like.